Default Account Permissions: Account Administrator
NOTE
An Account Administrator must activate Resource Requests in the Resource Management Settings.
Overview
With Resource Requests, you can create repeatable staffing processes within your organization by establishing a specific list of approvers and requiring users to submit requests for their staffing demand. Resource Requests can be submitted from anywhere in Kantata that you can access the Resource side panel—such as the Resourcing tab in a project, the Rates & Roles page, or the Resource Center.
To submit these requests, unnamed resources are used as placeholders for the open roles, allowing you to add:
- Task assignments
- Scheduled hours tasks
- Allocated hours to the project
- Specific skills and other attributes needed for the open role
Before requests can be submitted, you must:
- Have Resource Requests activated in the Resource Management Settings
- Have access to edit resource information
- Add unnamed resources with appropriate roles to the project
Once a request has been submitted, the Resource Request Approver is notified via email of the request and the Request Status column in the Resource Center updates to Submitted for the unnamed resource.
Before you start using Resource Requests, you need to be sure that the approver has all the details they need to staff the role. We recommend adding Resource custom fields to use with resources to both classify your resource demand and follow your existing business processes. You can also add existing User custom fields to resources—or create new ones—and make sure that they are available in the Resource side panel. You can even mark specific fields as Required for Staffing, allowing you to define which information is vital for submitting Resource Requests.
Building a skills library under Settings > Skills will also help you to fill requests more quickly and accurately, as approvers can match the skills needed for a role to the skills that account members have assigned to them in the system.
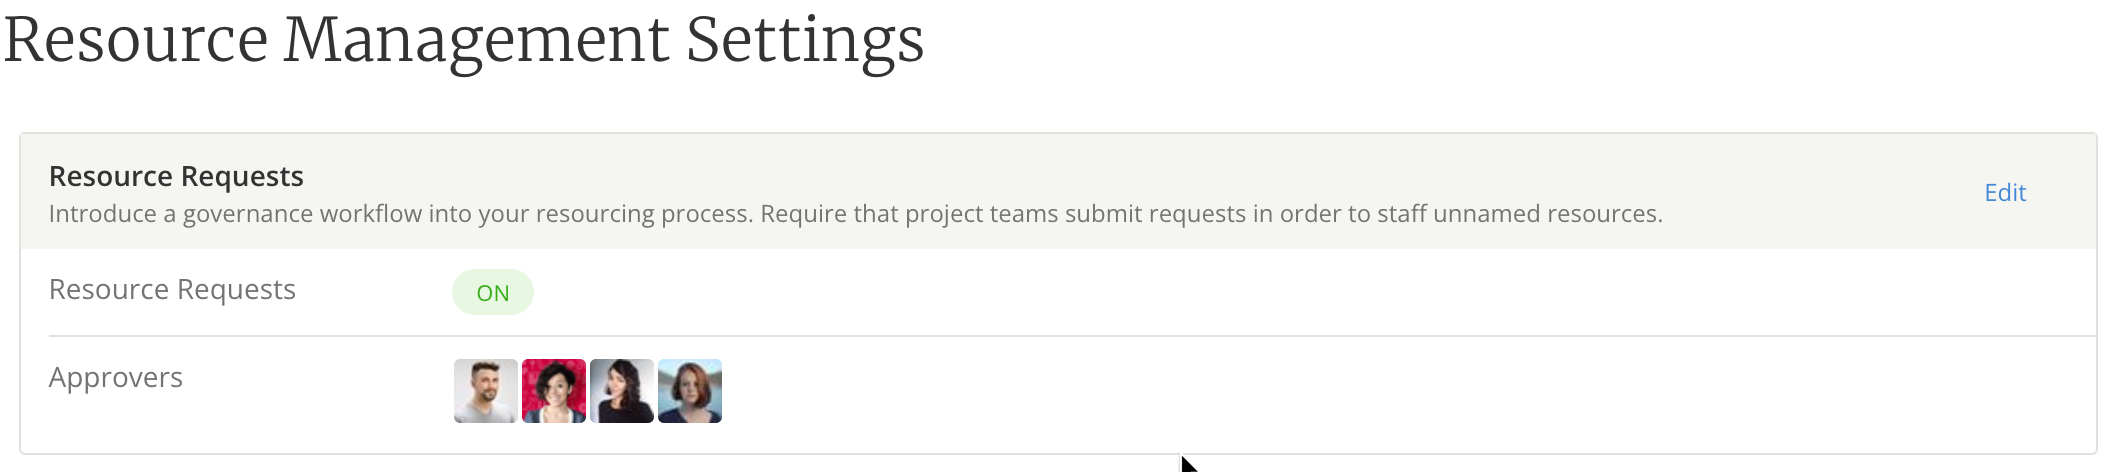
Account Administrators can activate Resource Requests and add approvers under Settings > Resource Management.
Resource Request Approvers
You can designate specific account members as Resource Request Approvers. In order to approve requests, an account member must have permissions to view all projects in Resource Center and edit named resources.
As a Resource Request Approver, you:
- Receive notifications when requests are submitted to you
- Approve submitted requests that meet your staffing criteria by selecting a resource to fill the role
- Reject submitted requests that don’t have enough information—such as the skills needed or other data from custom fields—or cannot be staffed due to staffing limitations or other reasons
Before a request can be submitted for approval, unnamed resources must be added to the project, an approver must be selected, and all required custom fields must be filled out. These unnamed resources are created based on the roles listed in your account settings.
Once a request has been submitted, an email notification is sent to the selected approver and the Request Status column in the Resource Center updates to Submitted for the unnamed resource.
Resource Requests can be approved or rejected via email or anywhere that the Resource side panel can be accessed in Kantata.
TIP
If you have Resource Recommendations activated, approvers will see a list of recommended account members to fill the role. Hovering over each recommendation, you can see additional information that can help you determine if a resource may be the right fit.
How to Submit a Resource Request for an Unnamed Resource
-
Navigate to a Resourcing area in Kantata OX:
- Projects > select a project > Resourcing
- Resourcing > Resource Center >Team Members
- Resourcing > Resource Center > Projects
- Select Unnamed or All in the toolbar to display unnamed resources.
- From the respective Resourcing page, expand the project or resource row. Depending on where you are in Kantata, the order of these rows may vary. For example, the resource row is the top-level row in the Team Members tab.
-
On the right side of the list, select the Side Panel icon to open the Resource side panel. All requests start as a draft, and information entered is automatically saved.
-
If needed, change the Resource Label. This is useful if you need to distinguish between senior and junior-level resources on a project. You can also change the Role to ensure the correct rate is being used.
-
Add Skills to differentiate needs.
-
Fill out all required Custom Fields, as well as optional custom fields as desired, to define additional information that is needed for the role.
Note: Resource custom fields do not follow standard User custom field permissions but are instead dependent on Resource Management Access Group permissions. In other words, if you can view a resource, you can view all their custom fields. If you can edit a resource, then you can edit their custom fields. -
Use the Activity section to send public or private messages and communicate additional needs or changes.
-
Select the appropriate person from the Approver drop-down.
-
Select Submit Request to notify the Approver of your request.
Note: You will receive an email notification when the request is approved or denied. If the request is approved, the unnamed resource is replaced with a named resource on the project. You can easily find all requests that are still pending approval by using the Resources filter in the Filters modal. -
If needed, you can still add private messages after a request is submitted, but no other changes can be made without selecting Cancel Request in the Resource side panel. If you cancel the request, you can make the changes you need to Custom Fields or Skills and resubmit.
How to Approve or Reject a Resource Request via Email
- Open your email client, look for the subject line New Resource Request, and open the email.
- Click on Link to Request in the email to view the Resource side panel.
- You can change the Resource Label to distinguish between senior and more junior-level roles, as well as the Role to ensure the correct rate is being used.
- To approve a request, you must select a Team Member from the Details drop-down menu.
- Select Approve Request to fulfill the request.
-or-
Select Reject Request to have the requester submit a new request.
How to Approve or Reject a Resource Request in Resourcing Areas
-
Navigate to a Resourcing area in Kantata OX:
- Projects > select a project > Resourcing
- Resourcing > Resource Center >Team Members
- Resourcing > Resource Center > Projects
-
To quickly find requests that need approval in the Resource Center, do the following:
- Select Unnamed in the toolbar to display only unnamed resources. Otherwise, skip to the next step.
- Select the Filters button to open the Filters modal.
- In the Fields section (the left pane), select Resources.
Note: This filter is not available in the Resourcing tab of a project.
- In the Values section (the middle pane), choose to display Requests Submitted To You or—if you need to see all resource requests—Submitted Resource Requests.
- Select Apply Filters.
- Select Unnamed in the toolbar to display only unnamed resources. Otherwise, skip to the next step.
- From the respective Resourcing page, expand the project or resource row, select the Side Panel icon on the right side of the list to open the Resource side panel for the unnamed resource. Depending on where you are in Kantata, the order of these rows may vary. For example, the resource row is the top-level row in the Team Members tab.
Tip: Change the sort order of the Request Status column to put all submitted requests at the top of the column. - From the side panel, you can change the Resource Label and the Role, if necessary.
- In the Details section, select a Team Member from the drop-down menu.
- Once you have selected the desired team member, select Approve Request.
- or -
To have the requester start over and submit a new request, select Reject Request. - If the request is approved, hours and assignments move to the named resource and the named resource replaces the unnamed resource on the project.
TIP
If you have Resource Recommendations enabled, approvers will see a list of recommended account members to fill the role. Hovering over each recommendation, you can see additional information that can help you determine if a resource may be the right fit.
Comments
2 comments
This article has been updated to include information on required custom fields.
This article has been updated to include information on submitting, rejecting, and approving Resource Requests.
Please sign in to leave a comment.